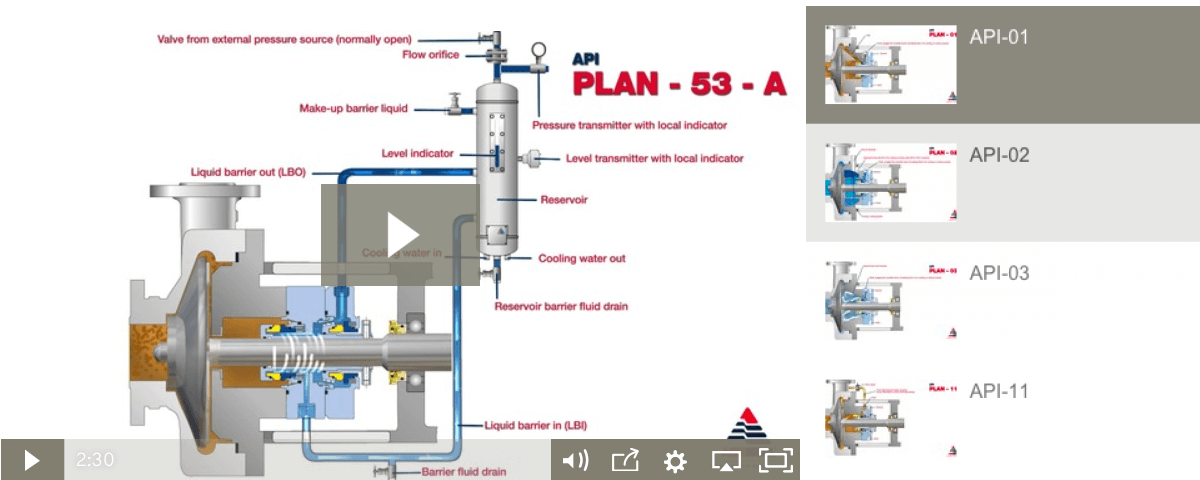
This follows-on from our previous post, where we demonstrate video evidence of a mechanical seal which was able to pass the API 682 air leakage test, despite leaking 270 to 1300 times the allowable maximum leakage rate specified in section 10.3.1.4.1 of the standard. If you’ve not read the previous post or watched the video yet, we recommend doing so before reading this.
View the video - API 682 air testThis post gives more detailed information on the current specified test, and the steps we took in our practical demonstration of what this test will allow to pass.
The Current Air Leakage Test
To verify that a mechanical seal is fit for purpose, the standard measures the change in pressure over a given time. Here is the description from API 682/ISO21409 Section 10.3.4.2:
“Each sealing section shall be independently pressurised with clean air to a gauge pressure of 0.17 MPa (1.7 bar) (25 psi). The volume of each test set up shall be a maximum of 28l (1 cu ft). Isolate the test set up from the pressurising source and maintain the pressure for at least 5 minutes. The maximum pressure drop during the test shall be 0.014 MPa (0.14 bar) (2 psi)”
The concept of using pressurised air to test integrity makes sense as a practical alternative to testing with liquid. However, this only works if the air volume, duration and allowable pressure-drop are strictly controlled and represent best practice.
The Objectives
AESSEAL believe that the current air test gives far too generous a tolerance for leakage. To demonstrate the point, a series of tests was conducted to try to answer the following questions:
How big an orifice (to simulate a defect) can be present in the pressure-containing part of a seal whilst still allowing it to pass the current API air-test?
What would the real-world leakage rate be from this simulated defect, when it is applied to pressurised fluid?
Theory and the Control Test
Following on from previous work, AESSEAL engineers calculated the maximum size orifice whilst still allowing the seal to pass the air test. The calculations predicted a maximum orifice size of 0.008”. The test took place with an 0.008” orifice.
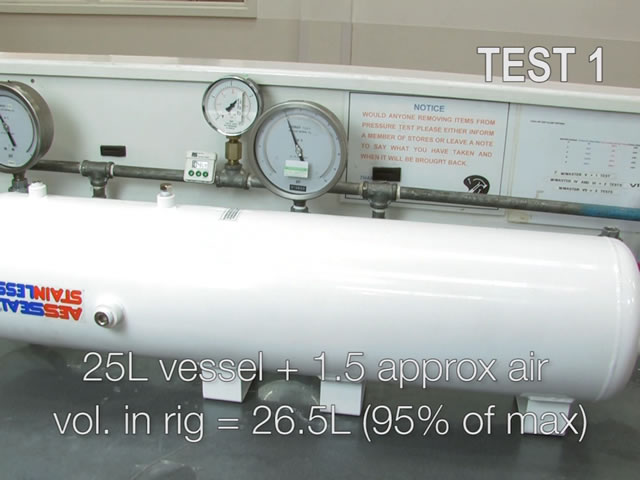
The testing took place in AESSEAL’s dedicated test facility. The chosen test rig had an internal air volume of approximately 1.5l. It was connected to a 25l-capacity vessel; giving a total capacity of 26.5l. This is 95% of the 28l maximum volume which the standard allows.
A control test was conducted to ensure there were no leaks in the rig setup. The expected zero pressure drop over the 5 minute test period confirmed this as leak-free.
Introducing the Calibrated Orifice
To simulate a defect, a 0.008” (0.2mm) hole was drilled into a ½” NPT plug. This was added to the assembly. The result was a pressure drop of 2 psi over the 5 minute test-period. This is the maximum allowable leakage rate for the API air test.
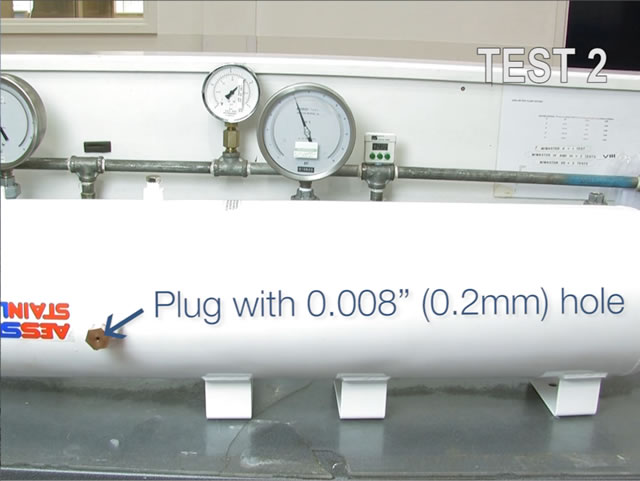
This demonstrated that (as the calculation had predicted) an assembly containing a 0.008” (0.2mm) orifice or defect could still pass the air test.
Adding a Mechanical Seal
A well manufactured, fit-for-purpose mechanical seal was added to the assembly. The plug with the orifice was moved to one of the seal ports. The result was the same as before: narrowly passing with the maximum allowable 2psi pressure drop.
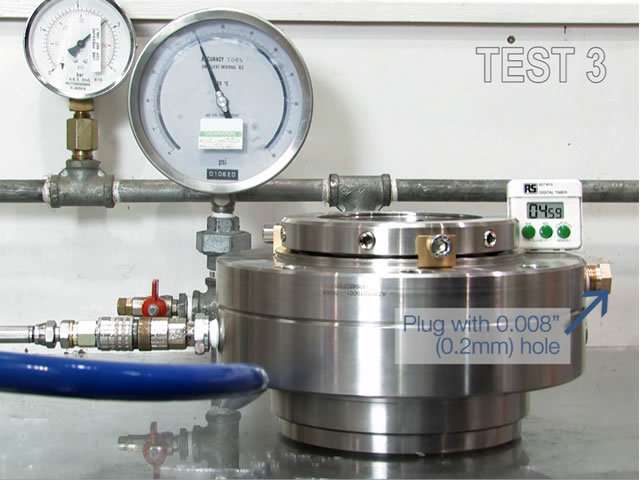
Reducing the Air Volume
To test practically how much more sensitive the test would be to leakage if a smaller air volume was allowed, the 25l vessel was removed. This left an air volume of only approximately 1.5l.
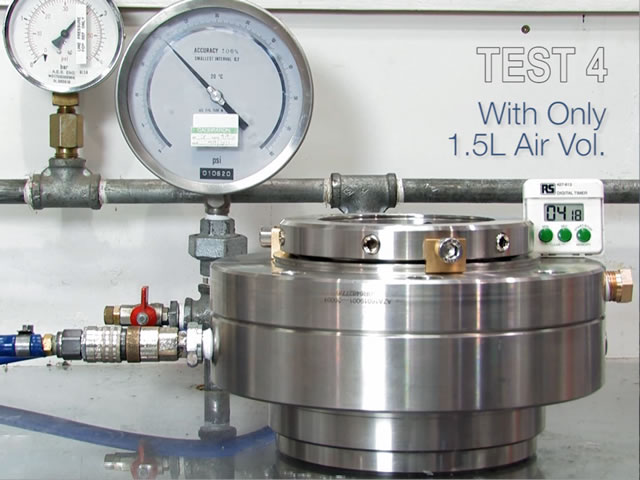
The above test (a fit-for-purpose mechanical seal with the 0.008” orifice in one of the seal ports) was repeated with only 1.5l of air volume. The result was a pressure drop of 22 psi over the 5 minute test. This is a clear test failure, with 11x the allowable maximum leakage!
But could a good seal without any defects still pass this stricter test?
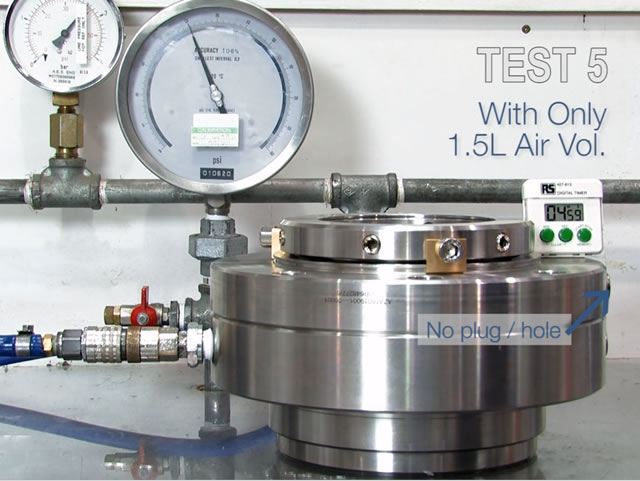
The same test (1.5l air volume and a fit-for-purpose mechanical seal) was repeated, but this time with the simulated 0.008” defect removed. The result was a pressure drop of ZERO over the 5 minute test period.
Result Summary from First Set of Testing:
To summarise the results so far; the current air test specification allowed a seal to pass the test which contained a simulated 0.008” defect. However, when the air volume was reduced to just a 1.5l maximum – we were left with a test which caused the seal to dramatically fail with the simulated defect. The same seal was able to confidently pass the 1.5l air test without the defect.
We voluntarily use this stricter 1.5l volume air-test on our mechanical seals, and we encourage end-users and standard makers to insist upon this from other suppliers.
What leakage rate would this defect equate to on a pump?
Having demonstrated that a seal with a simulated 0.008” defect could pass the API air test, our engineers attempted to illustrate the potential ‘real world’ leakage when pressurised fluid is applied.
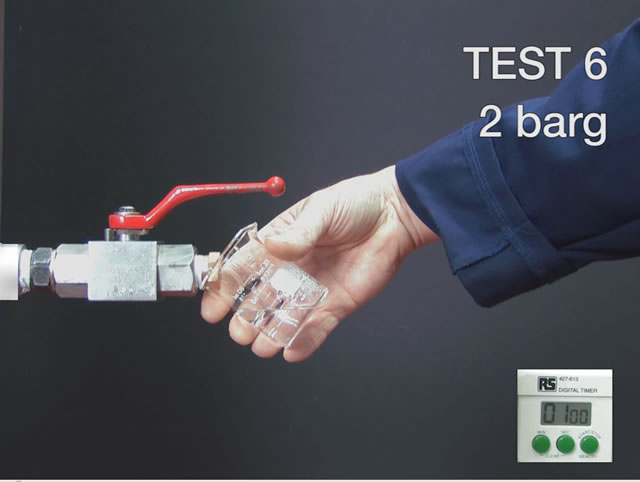
To simulate this; the same 0.008” NPT plug from the previous tests was applied to a Nitrogen-pressurised water vessel. A beaker was used to capture the leakage and calculate the leakage rates. This test was run at three different pressures which represented the low, middle and top end of the pressure range intended for API682 seals. Here are the results:
| Test Pressure | Leakage | Actual vs Allowable Leakage |
|---|---|---|
| 2 barg (29 psi) | 1,500 g/h | 270 * the maximum |
| 7 barg (102 psi) | 3,000 g/h | 535 * the maximum |
| 40 barg (580 psi) | 7,500 g/h | 1300 * the maximum |
A stricter version of the current API682 air-test which allows a maximum air volume of only 1.5l is far more effective. AESSEAL voluntarily apply this to our API682 mechanical seals, and we encourage safety-conscious end-users and manufacturers to specify and adopt this also. The overall result is simple: a mechanical seal assembly containing a 0.008” (0.2mm) orifice was shown to leak anything up to 1300 times as much fluid as the test is intended to allow, despite being able to pass the API 682 (ISO21049) air test.

